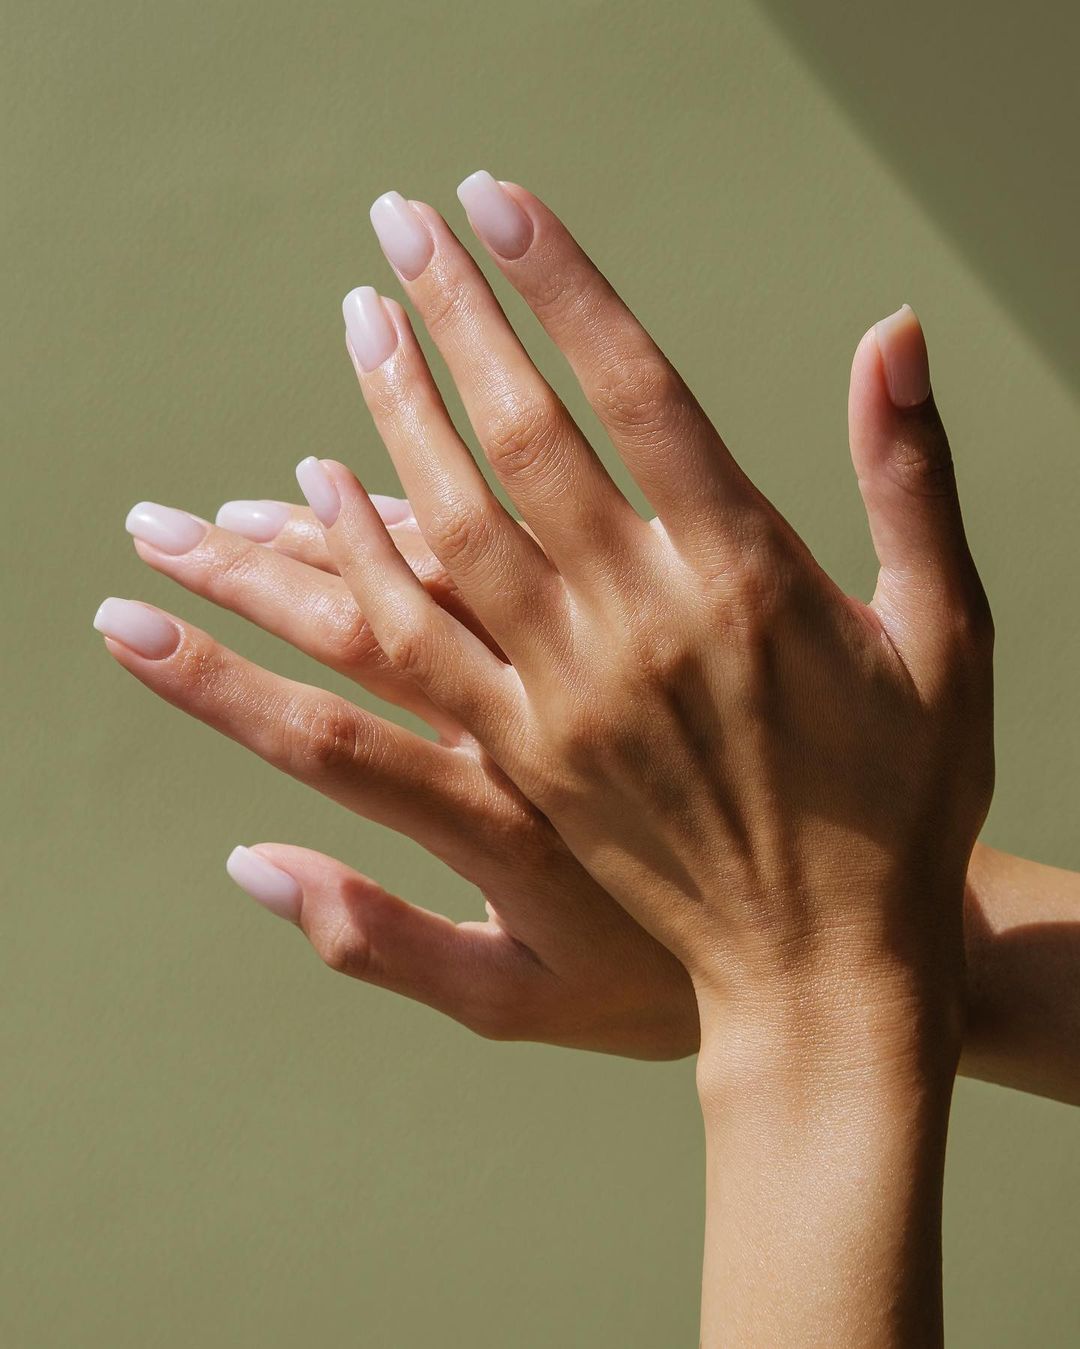
I’m not one to go out and about without nail polish very often, so steps for a manicure I can do at home saves me money and indulges my love of painted fingernails. Getting a manicure regularly can be pretty pricey, so being able to do your own at home is ideal for saving cash without sacrificing style and looks. If you love to have your nails painted like I do, try these steps for a manicure you can carry out on your own. You’re going to love the way your nails look!
Snapshot Survey
Thanks for sharing your thoughts!
Please subscribe for your personalized newsletter:
Successfully subscribed!
Thank you for subscribing! Check your inbox for personalized content.
1. Prep Your Nails
The first of the steps for a manicure is to get your nails ready. Remove any existing nail polish, push back your cuticles, then wash your hands with warm soap and water. Allow your hands to dry completely before moving on to the rest of your manicure. Dry fingernails are much easier to work with and result in a better manicure than damp, soft nails.
2. Clip Your Nails
No matter what length you want your nails to be, clip them to the same length. This makes for a more flawless look. I like to keep mine short because it’s easier to make sure they’re all the same length and it helps preserve the nail polish for longer amounts of time. Use a set of sharp nail clippers to get your nails ready for the next step.
3. File and Buff
Your next step is to use a nail file to smooth the ends of your nails and create the shape you want. I like a rounded look, but you can use the file to make a squared off look or a pointy nail if you prefer. Next, use the side of a good nail buffer and smooth the surfaces of your nail. Wipe any leftover debris off before moving on.
4. Apply a Base Coat
A base coat protects your nail from staining due to bright and intense nail polish colors. It also helps the colored polish stick to your nail. Clear base coats are available from most nail polish manufacturers, so you won’t have a hard time finding what you want. I like Sally Hansen’s product, but any will do the trick.
If you're tired of your same old nail polish and want to shake things up a bit, you're in the right place. Here we provide some trendy and unique nail colors options for you. Enliven your style and let your fingertips do the talking. Get ready for the compliments!
5. Apply Color
Now the fun starts! Apply two coats of your favorite polish color. I like bright colors that stand out against my skin tone. Mix and match your favorites to find the colors that look best on your hands. The great thing about nail polish is that it’s easy to remove so if you try out a color you don’t like, simply wipe it off and start over with another color. I usually buy cheaper versions of polish if I’m not sure of the color. Just in case.
Gallery Spotlight
Save and share the images that inspire you. Tag @allwomenstalk to get featured.
Save
6. Decorate
Now is the time to make your manicure your own. I usually stick to a plain color on my nails, but you can embellish them however you want. Try accent colors, nail art stickers or hand painted patterns. You can even apply rhinestones or glitter. Browse through the nail product section at your favorite drugstore and there won’t be any shortage of great embellishments to give your manicure a life of its own.
7. Add a Top Coat
A top coat is important because it seals in the polish and holds in place any decorations you’ve added. Many nail polish manufacturers sell a combined top and base coat. I love this because I don’t have to carry around multiple bottles of nail polish. Add one application of the top coat and sit back with a magazine while you wait for your polish to dry.
Go ahead and admire your manicure. You’ll never get tired to laying your eyes on the good looking set of nails you’ve created. What’s your favorite nail polish color?
Snapshot Survey
Thanks for sharing your thoughts!
Please subscribe for your personalized newsletter:
Successfully subscribed!
Thank you for subscribing! Check your inbox for personalized content.
Comments

Don't Miss the Latest Version
Get the latest stories, save favorites, and share with friends — all in one place.
Create your profile. Earn badges. Level up your reading.
Join Allwomenstalk to track your streaks, collect badges, and earn XP for the things you already do—reading, sharing, and taking quizzes.
- 🔥Daily streaks with gentle boosts for 3, 7, and 30 days.
- 🏅Collect badges like Reader I–III, Socialite, and Quiz Ace.
- ⚡️Earn XP for reads, deep reads, likes, comments, and shares.
It’s free. Takes 30 seconds. Already have an account? Sign in.


Feedback Junction
Where Thoughts and Opinions Converge